The allure of buttons is undeniable: whether in a car's climate control, a washing machine, or a computer download button, their functionality is enchanting. The desired action is achieved with just a press, click, or tap, often without us fully understanding the underlying mechanism.
At Arounda, as designers, we are captivated by the intricate details of button elements. We recognize that factors such as placement, font, and padding significantly influence the conversion rates of digital products. As a result, we take great pleasure in refining our button designs until they gleam with perfection. In this post, we delve into the fundamentals of how to design button.
Define the Button's Appearance
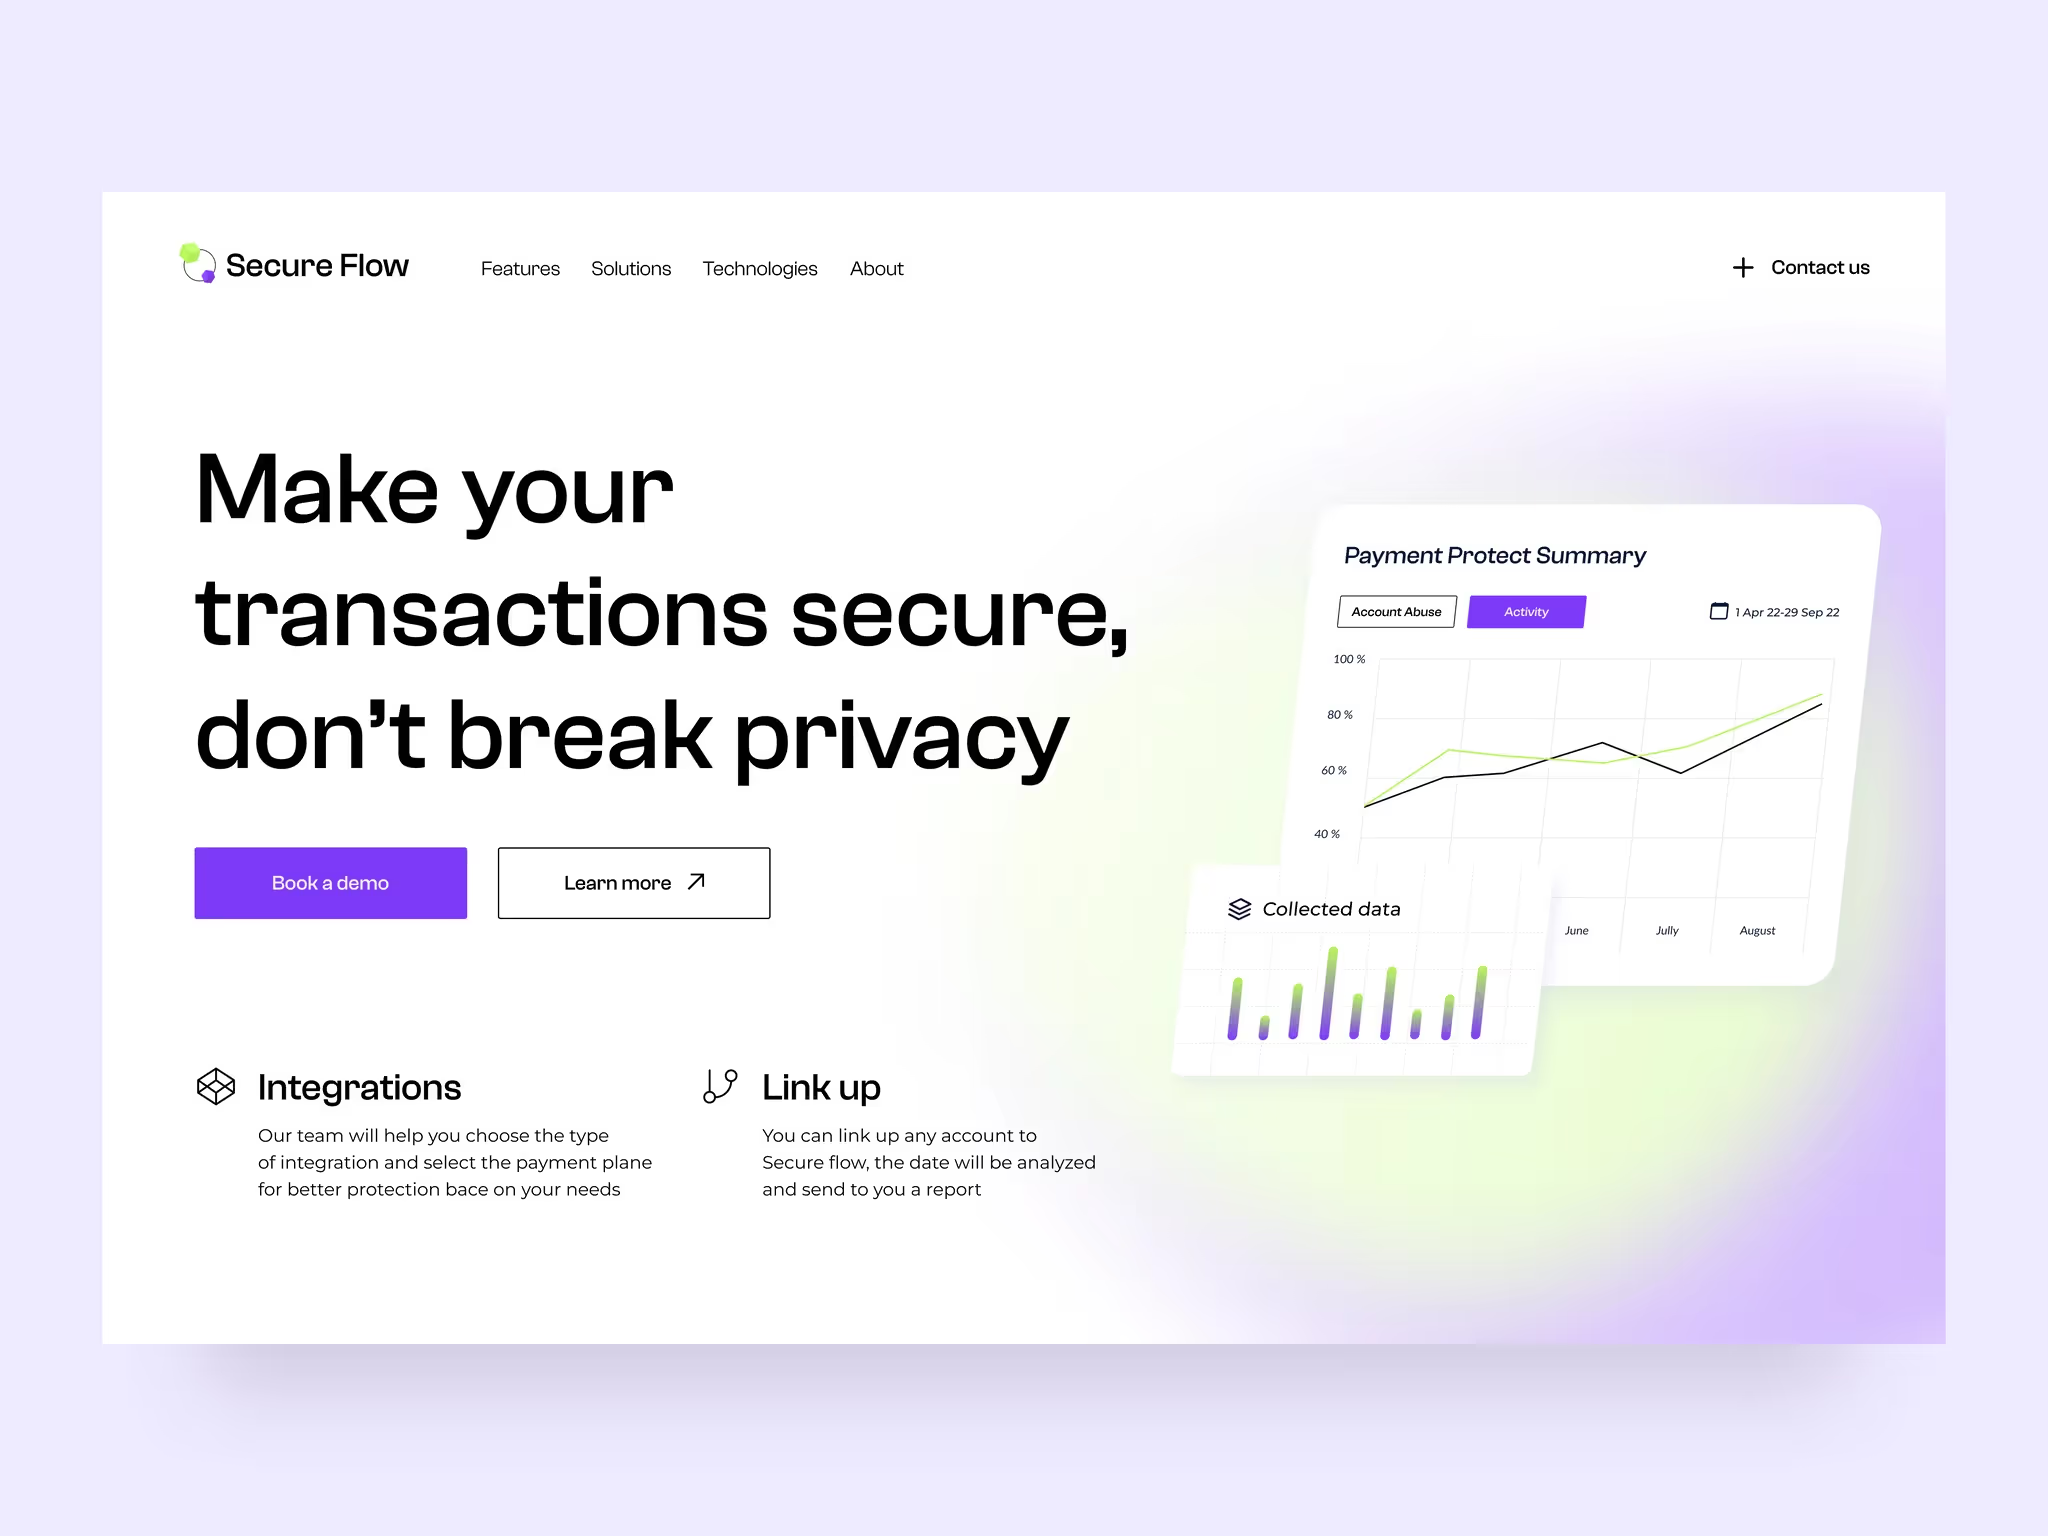
There are hundreds of combinations of shapes and colors for your button. But creating the right element is not just a matter of pure aesthetics. Button styles depend more on the purpose and environment. For example, primary buttons will differ from tertiary buttons, and buttons for Web3 should be consistent with blockchain colors aqua, turquoise, navy, blue, or orchid.
Rectangular buttons with rounded corners are the most common. You have definitely encountered other basic button styles while surfing the net: solid contained buttons, ghost buttons, line buttons, icon, text, floating, split, multi-select, toggle buttons, elevated buttons, etc. If you need more button design ideas, try Free pick templates. And there are lots of articles about how to design button in Figma.
The key point is that your button should look like a button so a user would not mix it up with the link, text, or inactive icon and pass by without noticing.
Locate the Button Where it Belongs

As we have grown up with Windows or MacOS, the most traditional placement for the button is the bottom right of the dialogue box. This principle finds support in the Gutenberg diagram, which shows that the western reading habit drives users’ attention from left to right and top-to-bottom. The conclusion arises that the bottom right corner is the natural final point and suits best for decision-making.
If your screen contains several content blocks followed by buttons, you can rely on Fitts’ Law in UX design. It states that the distance between an eye-catching area and a related button should be as small as possible and that smaller buttons are more difficult and time-consuming to click.
Here’s another way to think about it. When you have placed a button, try to empathize and see the screen through the users' eyes. Do they expect to find an active element here? Is it easy to reach?
Write Button Labels

The text of your button is as important as its appearance. If you trying to understand how to draw a button for the first time, you might find the following simple guidelines helpful.
- Fonts. Use legible fonts corresponding to the rest of the platform's typography
- Verbs. Use verbs rather than nouns or gerunds: ‘Edit’ is better than ‘Editing,’ and ‘Save changes` is more explicit than ‘Save.’
- Case. Try to play with the case and put all caps ‘NEXT STEP’, title case ‘Next Step,’ sentence case ‘Next step,’ or lowercase ‘next step.’
- Words. Define the same amount of words (one, two, or more) for all the buttons.
Check the Button Size
The latest study on the button design features for the smart home interface published by the International Journal of Environmental Research and Public Health ends with the recommendation to use a ‘rounded square button with a side length of 20 mm, a graphic and text ratio of 1:3’ for smart home mobile applications.
The mouse cursor can hit much smaller targets than a finger on a touch screen. Thus, tiny buttons will be well-clickable in a desktop version. Android accessibility help recommends making active elements large enough for interaction with width and height at least 48dp.
It’s logical to make buttons of higher priority larger than tertiary buttons used for various actions, as the button size corresponds to its importance.
Choose the Buttons Order
Which button would you put first, ‘OK’ or ‘Delete’? There are UX adepts of ‘OK’ on the right and ‘OK’ on the left, and a furious argumentation from both parties. So let's consider both points on button design.
- OK | Delete. Typically the start button comes first, and the stop button is second. This approach is intuitively clear because we suppose that the user will agree in most cases, and we slightly nudge him to click ‘OK’ with this button order.
- Delete | OK. The opposite approach developed due to the MacOS button placement, where any button in the bottom right of a dialog should dismiss the dialog. But what if we imagine this button order in the online purchase? ‘Don’t pay’ placed before ‘Pay’ may seem puzzling.
Secure Visual or Other Feedback on the Interaction
The magic of the active element is that it drives some change. We click the button and expect that something will happen. And we feel slightly confused when there is no response to our actions. That is why button styles suggest many ways to lead the visual dialogue with the user depending on his mouse movements and clicks.
We suggest implementing different button variations for:
- Active and disabled
- Mouse hover and hover off
- Pressed
- Clicked
You can also test audio feedback or vibration. The main point is to demonstrate that the action was registered and that the interaction with your product continues.
Don't Use Too Many Buttons
When we think about how to design button UI, we might want to provide several buttons for more options. This will witness our personalized attitude and care for the client, right? Well, Hick’s law of UX design says that the more choices or stimuli you suggest, the longer it will take for the person to decide.If you recall your last shopping at AliExpress, you will likely agree that choosing between many options is puzzling.
So if we aim for a seamless user experience, we shouldn’t make the user think, as thetitle of the grounding book in usability suggests,and overload the design with buttons.
Conclusion
If we wrap it all together, designing a button includes choosing the button type, labeling, positioning, and creating functions to make the element active. You should also maintain consistency of the button design inside your topology and keep the correspondence to the parent platform you are creating the button for.
With more than five years of experience in UI/UX design, we know that even small elements like buttons have their role. We hope that this article's guidelines will help you to get started with the button design. If you need assistance with UI/UX design, contact us!


