For a designer, Figma is just like a lightsaber for a Jedi — they are stronger together. This software has changed how art specialists work for greater ease and transparency and continues evolving and surprising from fall to fall.
Arounda designer agency started working with the SaaS in 2019 with the launch of the Figma community. We explored creating mockups and wireframes for websites, mobile apps, and landing pages for our startups and SME clients. Naturally, we were looking for time-saving features to deliver results faster.
In this article, we share ten of our favorite Figma tips and tricks 2025.
1. Apply Auto Layout

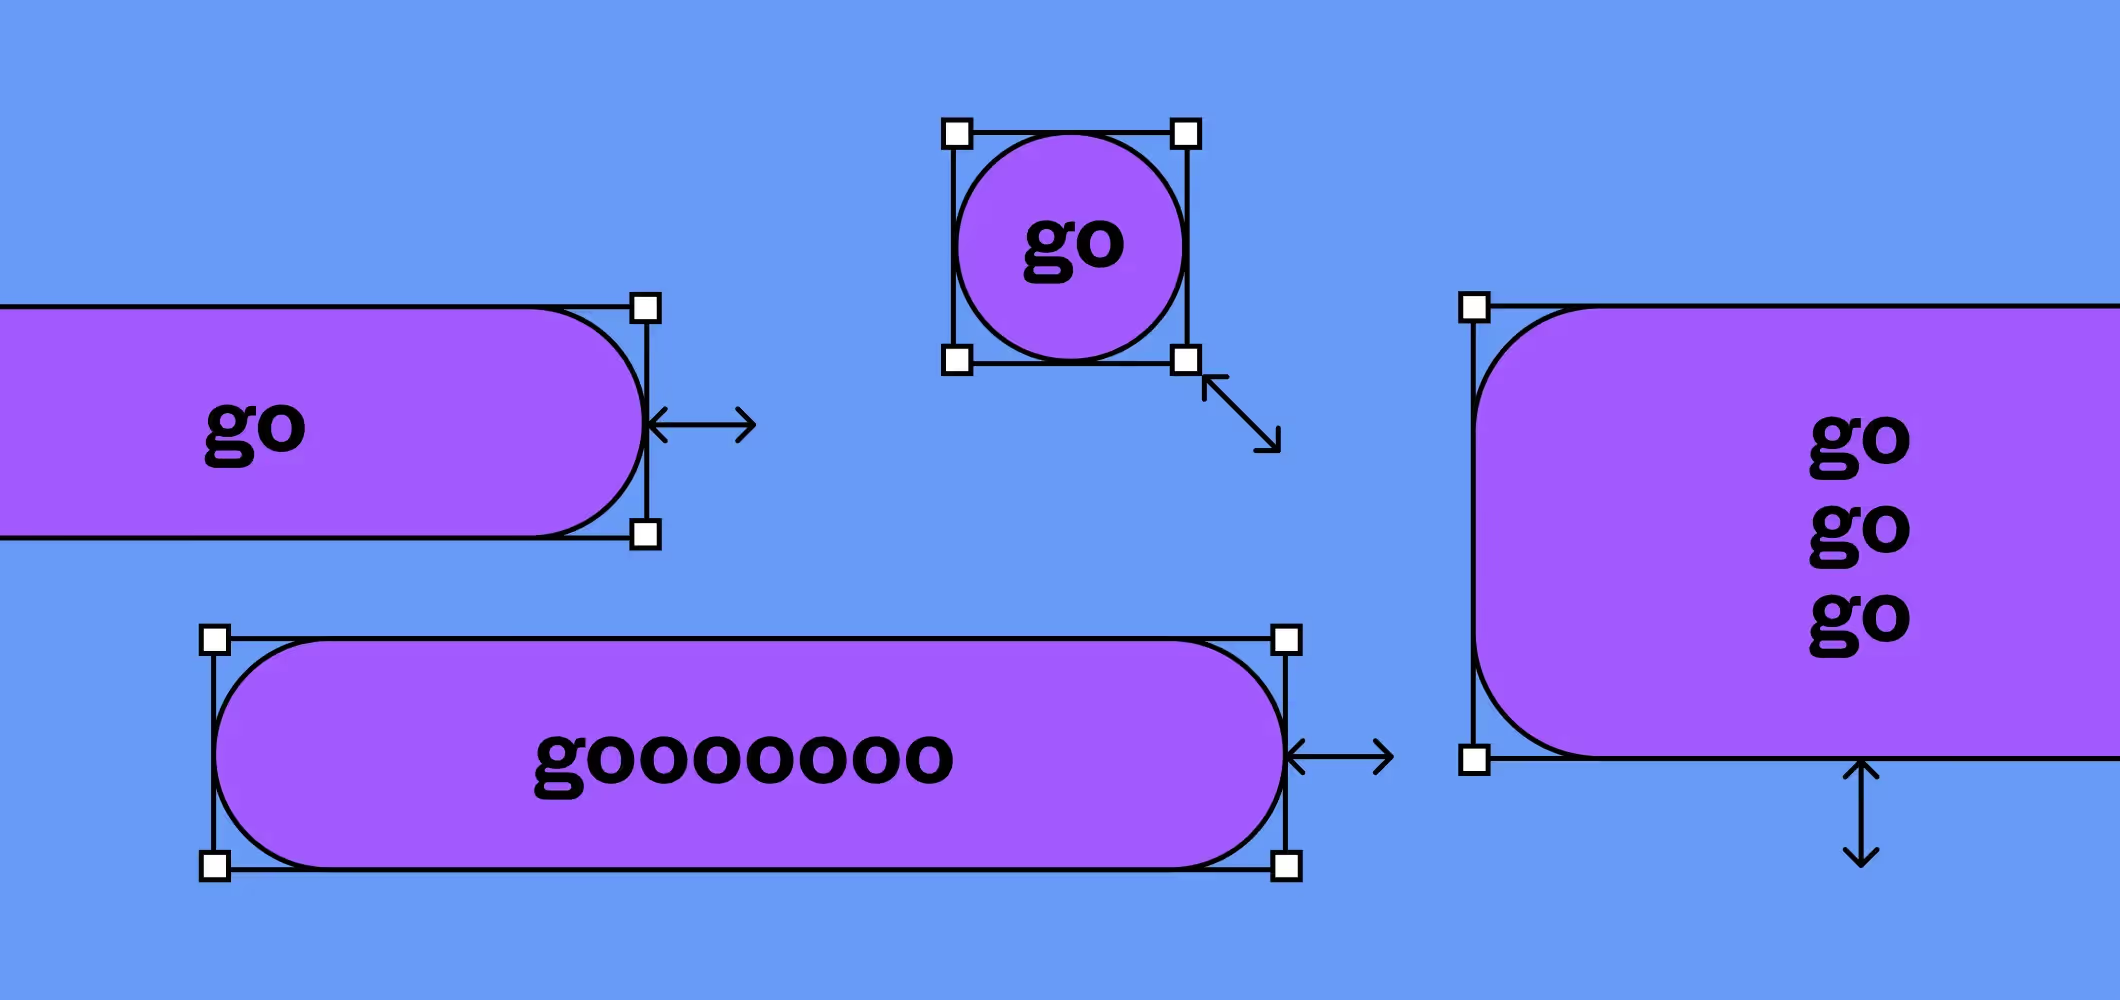
Figma allows you to create a personal customized frame with an auto layer feature. With a Shift+A shortcut, you make your dynamic parent frame that the child elements will inherit. For example, you can craft a specific button, set padding sizes, horizontal or vertical alignment of text and icon, color, spacing, rounding corners, save it to auto layer, and then apply it as a template if you need more buttons like this.
Auto layer is a great time-saver, for you can create customized frames for all kinds of components such as lists, dialogue boxes, image groups, and more. After pressing Shift+A, it takes a second and a click of a button to add or remove elements of the same type.
2. Rename Layers
Keeping your file organized is essential when your project grows and intakes pages and elements. No matter whether you are developing a mobile app or a corporate site, the hierarchy and naming structure for layers help.
You can give each new layer a new name or differentiate them with numbers, suffixes, or prefixes. Use a double-click on the layer or right-click and the ‘Rename’ option, to change the name.
Normally we modify one layer at a time, but you can select multiple layers you want to rename, then press Ctrl+R, and edit them as a group.
Here is one of the advanced Figma tips and tricks. You can create meta categories with slash-separated names. For example, if you have a few button states such as Subscribe/Active, Subscribe/Hover, Subscribe/Inactive, Figma will treat all these button layers as related components.
3. Practice Keyboard Shortcuts
It’s rather pitiful to see a designer struggling with his mouse instead of using shortcut keys. Here are some of our favorite ones.
- Ctrl+Opt+C to copy object properties such as fills or text style, and Ctrl+Opt+V to paste them to another object.
- Ctrl + L to copy the link to your Figma file to the clipboard. Now you can easily share or embed it anywhere
- When you have chosen a frame or group, press Return to select all children and Shift+Return, and you climb back up to the parent.
One more of the handy little Figma tricks: press Ctrl+Shift+? to open a panel along the bottom of your screen where you can view all available Figma shortcuts.
You can train one new shortcut daily to gain speed and improve mastery.
4. Smart and Tidy Grids

We often deal with a bunch of matching elements (pics, boxes, frames), and aligning them info neat groups with the proper spacing might seem pretty time-consuming. Luckily Figma has `Smart selection` and `Tidy up` features to position elements in bulk.
First, you select a group of identical items and then click on the grid symbol on the bottom right of the selection area. You will see that your components will be automatically arranged in an ideal grid.
The magic doesn’t stop here. Look at the pink lines between the items and drag them to adjust the vertical and horizontal padding. Moreover, try to swap the grid elements by clicking on the circle in the selection center. Then drag and drop items to a new position within the selected area.
5. Put images into Placeholder Shapes in No Time
We copy and paste images all the time. When you use small Figma hacks with pics, they first save you seconds, then hours, and then days.
Select multiple images, then press Ctrl+Shift+K. Now when you click on the shapes, the images will fill them in one after another. You will then be able to click on shapes, and it will fill them with the selected images one after another.
6. Scale Tool
Scaling is so basic in graphical design that it must work robustly by default in all environments. And yet we praise and wonder about Figma because nothing breaks during scaling.
Select what you want to scale, hold the selection and press K on the keyboard, maximize or minimize your group to the needed size, and enjoy the maintained proportions and properties.
7. Spacebar Figma Tips
We have already discussed shortcuts but the spacebar key is something exceptional in Figma.
- When you work with the group of items, select them first and then hold down the spacebar. You will increase the size of the selection.
- When drawing a shape, hold space to move the element around as you wish. Press the spacebar to place the object inside and outside of the frame or layout.
- You can also use it for nesting.
8. Nudge Values for Color, Text, and Shape
We can change various properties of Figma elements smoothly by holding a Shift button. Let’s see how it works with the color.
First, you select a shape, then open the colors menu, and keep the Shift pressed while moving up and down. The color will ‘nudge’ on your palette and change its hex value. The mouse wheel will affect the hue, and the Alt key changes the opacity. Similarly, you can nudge other properties such as line height or font size.
By default, the nudge step is set to 10. This is very handy for modifying the shape size. One of the fine tips for Figma allows changing that. Go to `Menu`> `Preferences` > `Nudge Amount` and scale in your own rhythm.
9. Instant Color Preview With Eyedropper
Select a shape where you want to change color and press "i" on the keyboard to activate an Eyedropper. Now you can pick the color for your shape from any image on your canvas by simply moving the cursor across the screen.
This is not a new one, but the hack is so adorable that is deserves a place in Figma tips 2025.
10. Arc Tool
Did you know you can make an arc from any circle with an elegant Figma feature?
Pay attention to a tiny dot on the edge of a new circle you draw. Press the dot and see how the circle will turn into an arc and modify it with mouse movements. Then find another dot called `ratio` and the top of your arc slice and adjust the shape.
Conclusion
No matter how long you design with Figma, there is always a way to make the experience and workflow even better. Arounda team continues digging into Figma features to complete various projects such as UI/UX redesign for a FinTech SaaS, design for an NFT marketplace, or branding for WordPress.
We are aware that working with Figma collaborative software has influenced our mindset and led to bigger trust and openness inside the team. And we have surely increased productivity thanks to the tips and tactics that we put together in this article. We only wish we could have known them earlier.
If you aim for perfection in digital products and want to collaborate with a team that shares your values, Arounda is here for you!


